
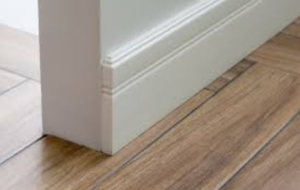
MDF skirting boards are a popular choice for homeowners and professionals looking for a durable, cost-effective, and aesthetically pleasing finishing touch to their interiors. Whether you’re renovating your home or working on a new build, installing MDF skirting boards can enhance the overall look while protecting walls from damage.
In this guide, we’ll walk you through everything you need to know about installing MDF skirting boards, from selecting the right materials to achieving a professional finish. By the end of this article, you’ll have the confidence and knowledge to complete the job with ease.
Why Choose MDF Skirting Boards?
MDF (Medium-Density Fibreboard) is a highly versatile material that offers several benefits:
- Smooth Finish: Ideal for painting and customization.
- Affordability: More cost-effective than solid wood alternatives.
- Durability: Resistant to warping, cracking, and moisture when properly sealed.
- Ease of Installation: Lightweight and easy to cut compared to hardwood options.
Tools and Materials Needed
Before starting, gather the necessary tools and materials:
Materials:
- MDF skirting boards
- Wood glue or adhesive
- Filler or caulk
- Primer and paint (if required)
- Sandpaper
Tools:
- Measuring tape
- Pencil and ruler
- Saw (hand saw or electric mitre saw)
- Spirit level
- Hammer and nails or nail gun
- Screwdriver and wall plugs (if needed)
- Protective gear (gloves, mask, safety glasses)
Preparing for Installation
Measuring and Cutting
- Measure the Walls: Use a tape measure to determine the length of each wall where skirting boards will be installed.
- Mark the Cuts: Transfer the measurements onto the MDF boards and mark where cuts are needed.
- Cutting the Boards: Use a mitre saw for precise 45-degree angle cuts at corners to ensure seamless joints.
Surface Preparation
- Remove Old Skirting: If replacing existing skirting, carefully pry it off using a chisel and hammer.
- Clean the Surface: Ensure the wall surface is free of dust and debris for better adhesion.
- Check for Level: Use a spirit level to mark a guideline along the wall to ensure straight installation.
Installation Process
Fixing the Skirting Boards
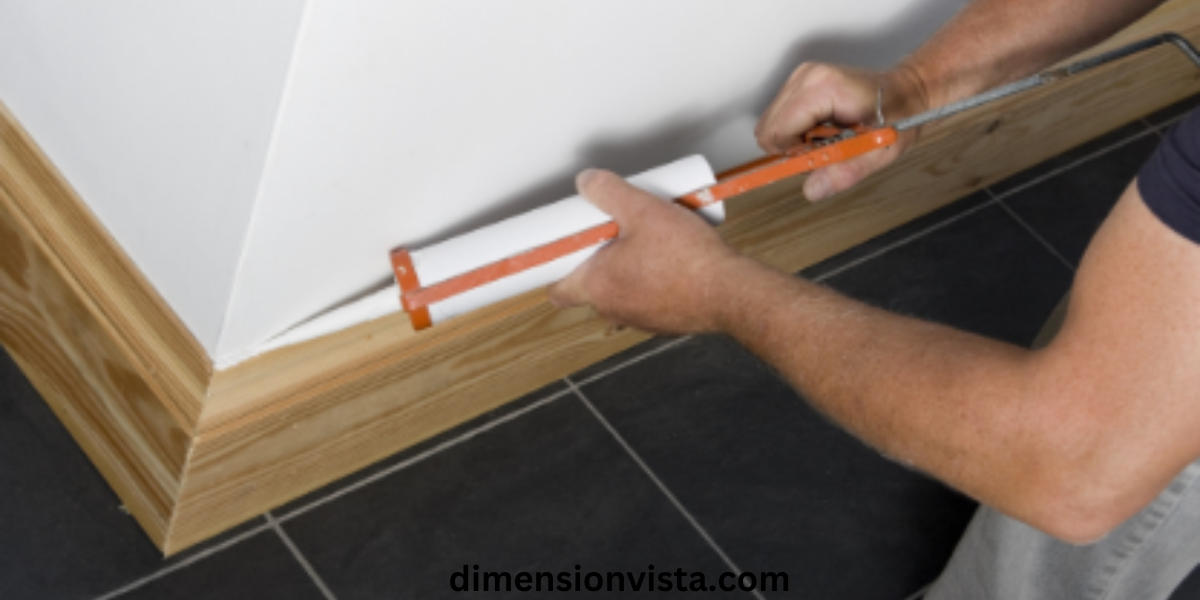
Using Adhesive:
- Apply a strong wood adhesive or grab adhesive to the back of the skirting board.
- Press firmly against the wall and hold for a few seconds to secure.
- Use additional nails if necessary to reinforce attachment.
Using Screws and Nails:
- Drill pilot holes along the skirting board to prevent splitting.
- Secure the board using nails or screws, ensuring they are flush with the surface.
- If using screws, insert wall plugs into the wall before securing.
Joining and Corner Cutting
- Internal Corners: Use a coping saw to create scribed joints for a professional finish.
- External Corners: Ensure precise 45-degree mitre cuts for a neat look.
- Butt Joints: When joining two lengths along a long wall, use a slight bevel cut for a seamless appearance.
Finishing Touches
- Filling Gaps: Use caulk or wood filler to cover gaps and nail holes.
- Sanding: Lightly sand any rough edges before painting.
- Painting: Apply a primer first, followed by a top coat of paint for a polished look.
Common Installation Mistakes to Avoid
- Not Measuring Accurately: Always double-check measurements before cutting.
- Skipping Surface Preparation: Ensure walls are clean and even before installing.
- Using Insufficient Adhesive: Weak adhesion can lead to loose skirting over time.
- Neglecting Finishing Touches: Caulking gaps and painting properly make a significant difference in final appearance.
Conclusion
Installing MDF skirting boards is a straightforward yet impactful way to enhance your home’s interior. By following this step-by-step guide, you can achieve a professional and polished finish without the need for expensive labor. Take your time, measure carefully, and apply the right finishing touches for the best results.
For more home improvement tips and DIY guides, be sure to check out our other articles!